
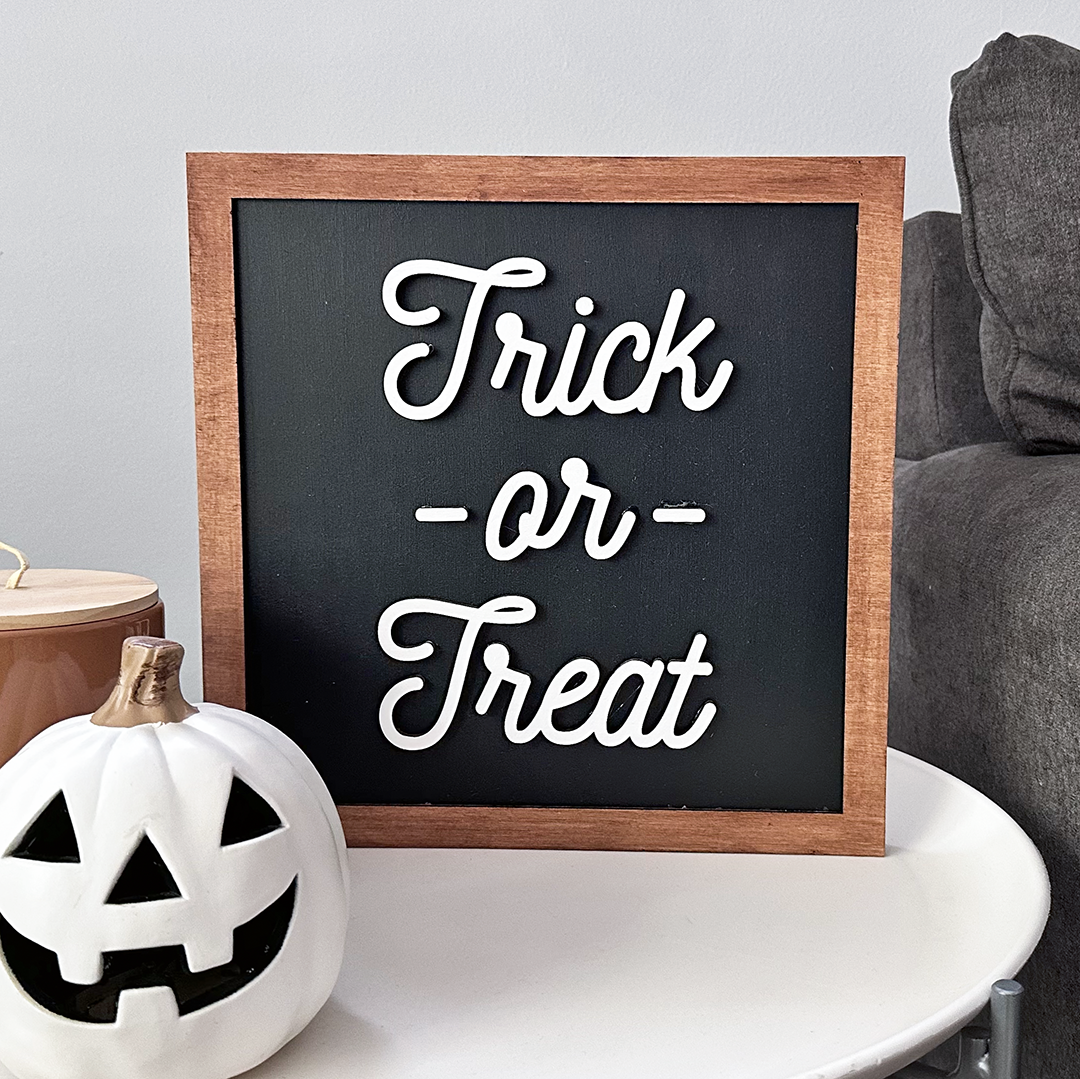

Get the most bang for your buck with this super cute reversible fall sign! This custom sign was created using supplies from CraftCuts! I love that you can turn an idea into reality with their awesome products from the shape to the fonts. It’s so much fun to design! Check out the full tutorial below!
Supplies:
Square Craft Shape (Material: MDF, Longest Dimension: 12 inch, Shape, Thickness 1 1⁄2 inch)
Thin Square Frame Craft Shape (Material: Baltic Birch Plywood, Longest Dimension: 12 inch, Shape Thickness: ⅛ inch)
Script Wood Letters (Text: Trick -or- Treat), Font: Nickainley, Height: 3 inch, Thickness: 1⁄4 inch
Script Wood Letters (Text: thanks + giving, Font: Citrus Script, Finish: Unpainted, Height: 3 inch, Thickness: 1⁄4 inch)
Acrylic Paint (Black and White)
Wood Stain
Cloth (for Wood Stain)
Paint Brush
Multi-Grip Adhesive
STEPS:
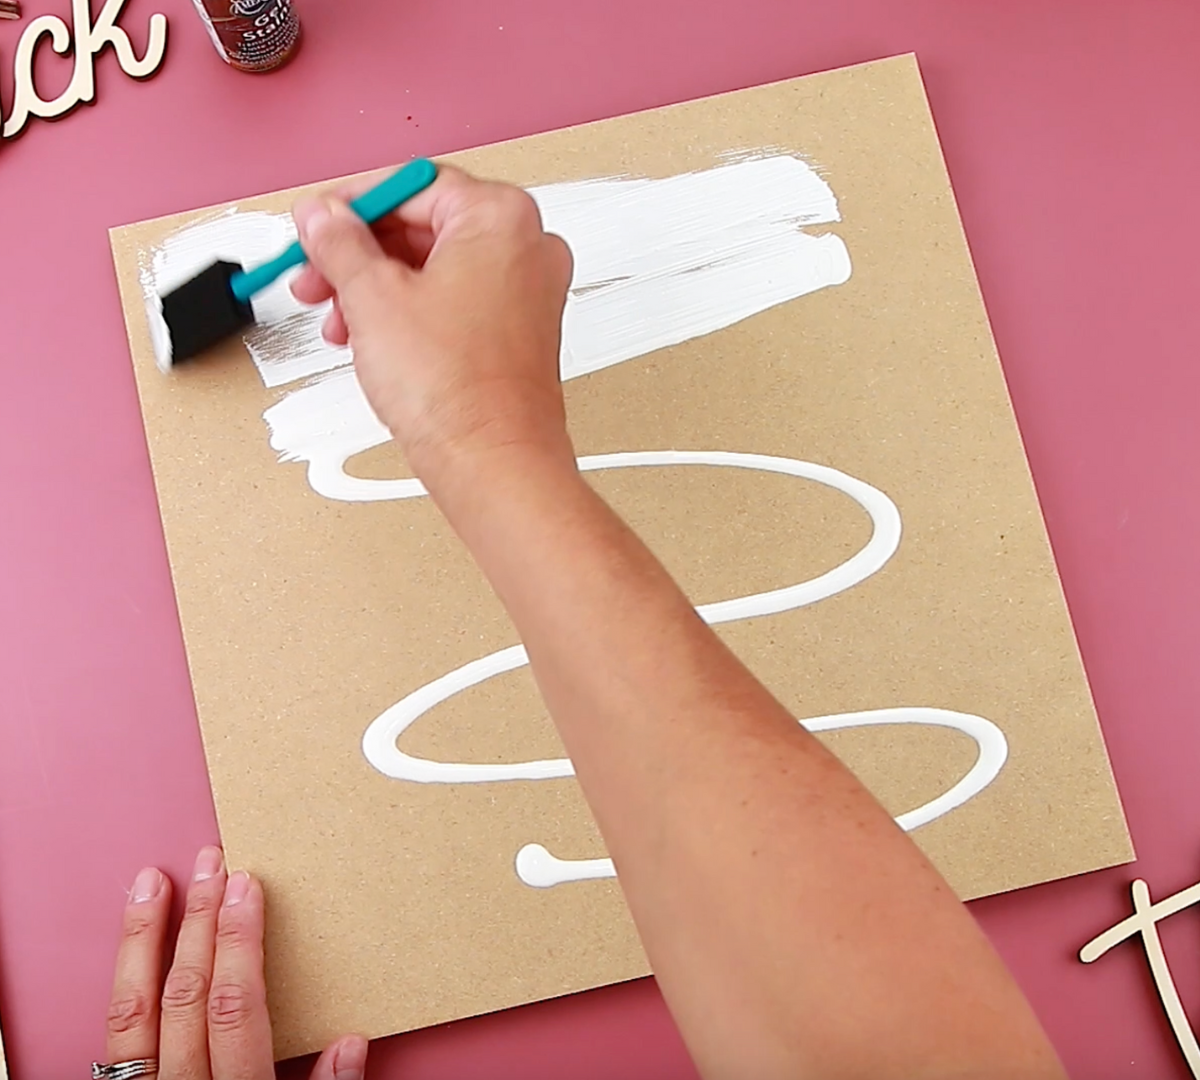
Step 1: Add a coat of white paint to one side of the square shape. Let it dry and add another coat.
Step 2: Flip the square sign over and paint the other side black. Let it dry and add another coat of paint.

Step 3: Using a foam paint brush, paint “Thanks + Giving” with black paint and let it dry.

Step 4: Paint “Trick -or- Treat” with white paint and let it dry.

Step 5: Paint stain onto one of the frames.

Step 6: The, use a cloth to remove excess. Let the stain dry and add another coat for a darker shade. Repeat with the other frame.

Step 7: Add glue to the back of “Thanks + Giving” and glue it to the center of the black side of the sign.

Step 8: Add glue to the back of “Trick -or- Treat” and glue it to the center of the white side of the sign.

Step 9: Glue one of the stained frames on top of the “Trick -or- Treat” side and the other frame on the “Thanks + Giving” side.

Step 10: Add stain to the outside of the sign, remove excess, and let dry.

