

If you have kiddos that are athletes, this custom sports sign is for you!
I love the look of this sign. It looks like the back of a jersey. How fun, right? This is such a fun and easy project to do since CraftCuts allows you to completely customize every detail from the sign size, font size, and font style. You can create the look that perfectly fits your home decor. Check out all of the details below! Be sure to head over to CraftCuts and use my code MEGHAN10 to get 10% off!

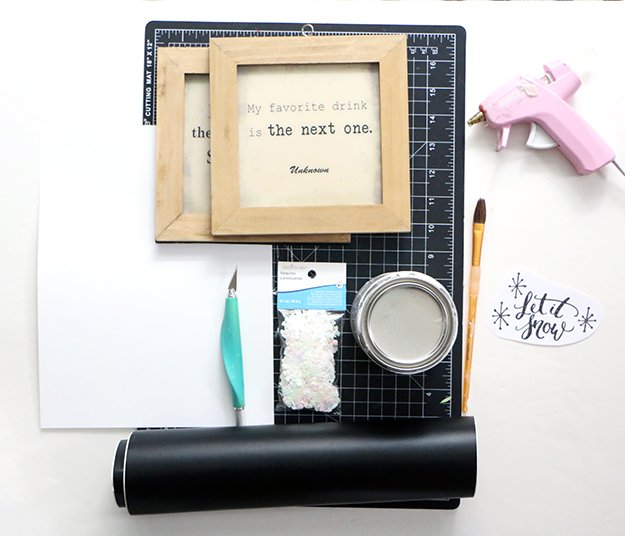
Supplies:
Rectangle Wood Shape
Rectangle Frame Shape
Name Letters
Numbers
Black Chalk Paint
Paint Brush
Multipurpose Adhesive
Sheet of paper or cloth to protect your surface
Painter’s Tape (Optional)

Step 1:
Start by painting your name letters. You’ll paint them with the black chalk paint using a foam paint brush. A foam paint brush works really well to get just the top. If you find your letters hard to handle, double a piece of painter's tape, add it to your surface, and place your letter on top. This will hold it in place as you paint.

Step 2:
Paint your numbers and then let them dry. Add a second coat of paint if needed.

Step 3:
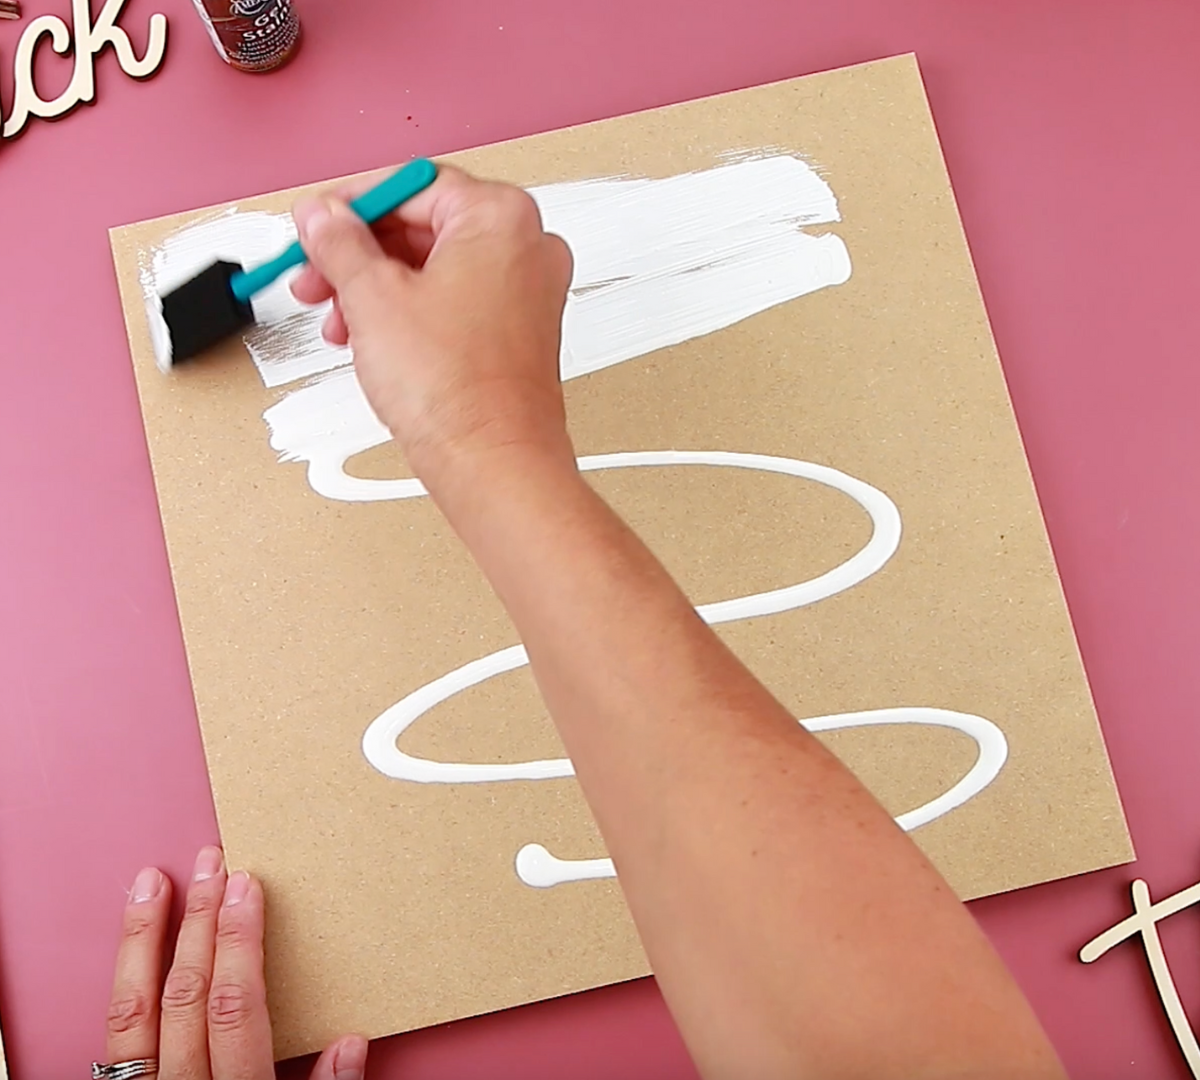
Add a coat of black paint to the frame. Let it dry and add another coat if needed.

Step 4:
Flip the frame over and add adhesive around the entire frame .

Step 5:
Place the frame on top of the sign and press down to make sure it’s nice and adhered.

Step 6:
Arrange your letters and your numbers on your sign until you get the design you like .

Step 7:
Add glue to the back of the letters and press them down on the sign. Using a ruler will help keep your letters straight as you glue them down.

Step 8:
Now add glue to the back of your numbers and glue them to the sign. Again, use a ruler to help keep them straight.
Now you just need to hang (or lean) your sign is your favorite spot. Enjoy!


